
Building my Roll-Off Roof Observatory
Before construction could begin, the first order of business was having three huge trees removed from our lot. That was the only part of the project that I didn’t do myself (with occasional help from the wife/kids/friend). So, after much planning the process started in July of 2010 with digging the footing for the Pier.
The hole was three feet square by four feet deep, and it was a hot sunny July day, so you can imagine how much fun that was! A couple of weeks later we poured the footing and pier in one day with the help of my step-son, a friend, and a rented concrete mixer. As we poured, several pieces of 5/8″ rebar were added in to strengthen the concrete.
The concrete pier consists of an 18″ square lower section (for strength) and a 12″ diameter upper section which ends up just above floor-level. J-bolts will hold a metal pier from there up.
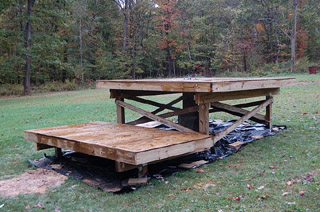
Then, we dug the eight footings for the posts that hold the structure, filled them with concrete, and placed a J-bolt in each for the post brackets.
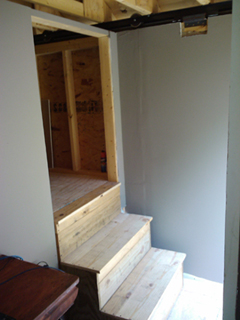
So now, we were ready to start building! You can see the pier under the raised cold-room floor. All lumber used at this point is pressure treated (including the plywood deck).
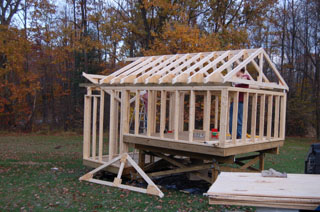
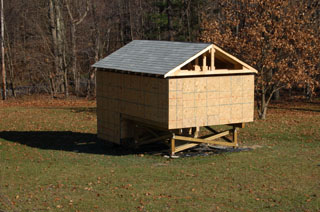
Next, here we are framing the structure and sheathing it:
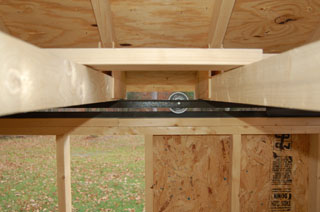
Each side has five of these 600# rated V-Groove casters over the winter of 2010-2011:
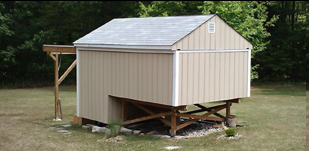
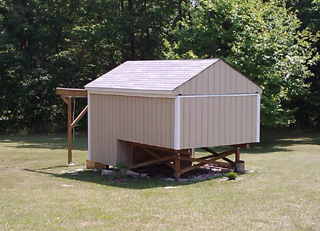
The structure is 10′ x 15′, the roof will roll off of the first 10′ and remain over the warm room when in-use. This will eventually house my 10″ f4 Newtonian reflector on a GEM of some sort – perhaps a used CI-700?
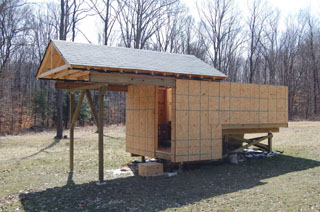
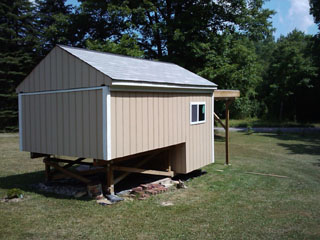
It was still pretty cold out when we got the beams that the roof rolls off onto up this March (’11). It was a relief to see everything work as planned. My assistant (wife) was very helpful for setting this up as it’s quite tricky holding everything in-place and securing it.
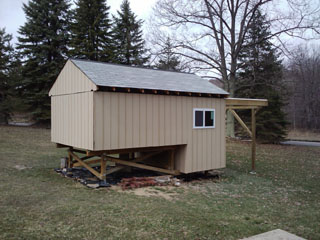
We went with the LP Smartside siding so it matches the look of our garage. I finally got a framing nailer and that helped speed things up, should have bought it before starting this.
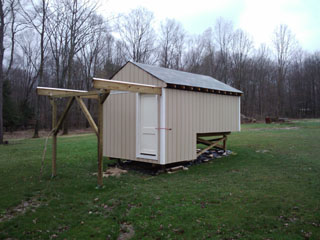
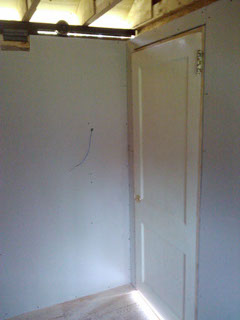
And here’s the door and trim done. I cut the door jamb lumber and trim out of 2×8’s. I used oil based primer on all sides as this is just pine and hopefully that will help it last a good long time. Took a while to cut and build all of this, but it helped pay for that nail gun. The door, 2×8’s, etc. for this part of the project we had around and cost nothing.
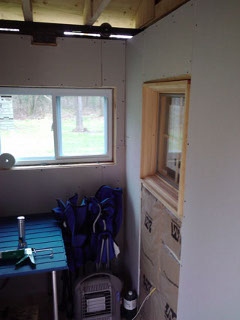
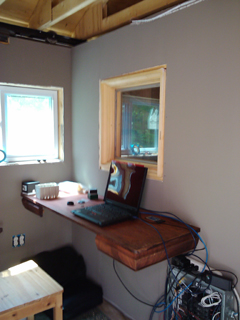
Over the weekend of April 30th I picked up insulation and drywall and finished the warm-room. I installed a window so I can see what’s the telescope’s doing from the warm-room then I ran the wiring, insulated, and put up the drywall. It’s fairly cozy now. I still need a bat of fiberglass r30 and some foam-board insulation to finish off the ceiling.
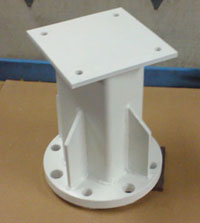
On the weekend of June 11th I finally finished the pier extension and attached the LXD75 GEM and my 10″ scope. It’s fabricated from a large 1″ thick pipe flange at the base with a 5″x5″ square steel tube welded to it (gusseted). The top has two 8″x8″x3/8″ steel plates (w/bolts near the corners for leveling); one is welded to the tube and the other has fixtures welded on to accept the Meade tripod head for the LXD75 mount. I just did a “rattle can” paint job on the pier and later properly painted it:
The roof just clears the rig when it’s swung to the correct position. I did a rough polar alignment but didn’t get to use it. On the weekend of June 25-26th I ran conduit and connected power to the pier from the OCS (Observatory Control System).
Progress has slowed down a bit, staying up all night star-gazing AND working on the observatory during the day can’t both happen on the same weekend.
On the weekend of July 16-17th I painted the warm-room.
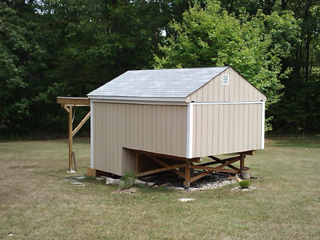
Also, I finished the soffit trim, so the observatory is sealed up pretty well against insects getting in.
Finally, a big concern is managing the heat buildup during hot summer days. I left a screened 1-1/2″ wide soffit vent that runs the full length on each side and here I add Gable vents. I got a small (5 watt, $38 on Amazon) solar panel and installed it on the roof, then ran the wires down to a 4″ computer fan ($6 on Amazon) and installed that in one of the gable vents. I then insulated the ceiling and that should help keep the inside of the observatory cooler. I might add a battery to the mix to keep the fan running into the evening to make sure the attic reaches thermal equilibrium.
I was really surprised at how long this finish work took… adding trim around the windows and baseboard, laying carpet in the warm-room, etc.